Yogurt pouch snacks have become a quiet hero in my kitchen. They fit perfectly into a lunchbox and are just as easy to hand over during a school pickup as they are to serve at the breakfast table. In my home they usually disappear before I even finish making coffee with Lily and Sophie racing to see who can grab the last one. Making them myself means I know exactly what my girls are eating and I can keep the flavors simple fresh and something everyone will enjoy.
Looking for inspiration? Try my Orange Cake with Yogurt for another simple yogurt-based treat.
Table Of Contents
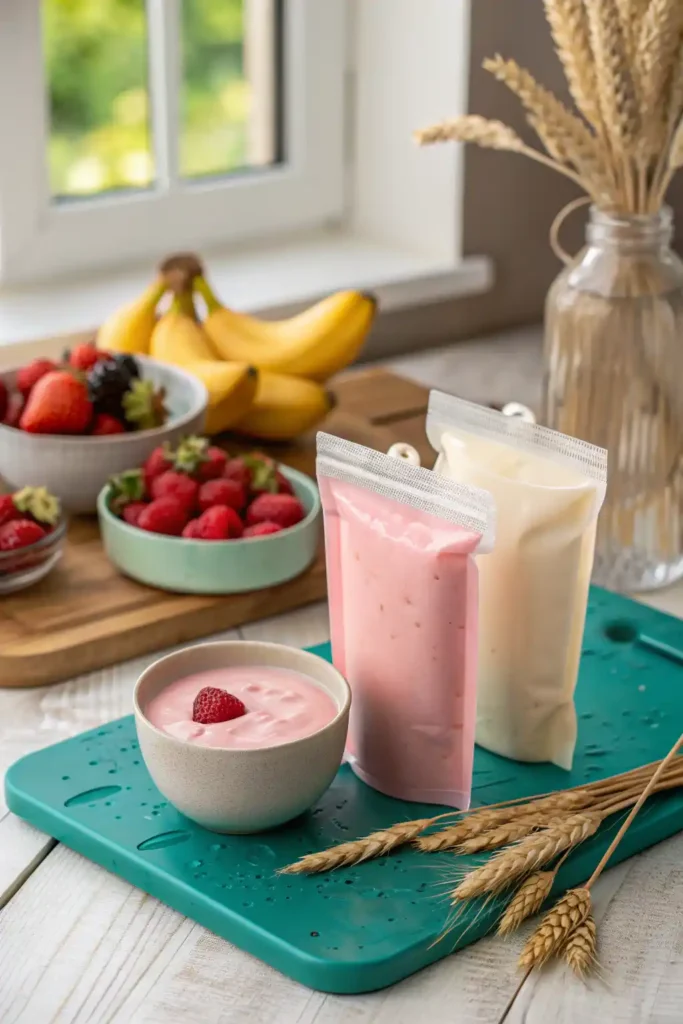
Homemade Yogurt Pouches
Ingredients
Equipment
Method
- Add yogurt and fruit to a blender. Blend until smooth and creamy.
- Taste and add honey, maple syrup, or vanilla extract if desired. Blend again to combine.
- If the mixture is too thick, add a splash of milk and blend until smooth.
- Using a funnel or spouted measuring cup, pour the mixture into reusable yogurt pouches.
- Press out any excess air before sealing the pouches.
- Store in the refrigerator for up to 3–4 days or in the freezer for up to 1 month.
Notes
Avoid overfilling pouches to prevent leaks.
Let frozen pouches thaw in a lunchbox for a cool, ready-to-eat snack by midday.
What is a Yogurt Pouch and Why Families Love Them
The rise of yogurt pouches in kids’ snacks
A yogurt pouch is simply yogurt packed in a squeezable pouch with a small spout or straw that makes it easy to eat without a spoon. They started popping up in stores as a fun way to give kids a healthy snack they could enjoy anywhere. Parents noticed how little mess they made compared to traditional yogurt cups and soon they were everywhere from school lunchboxes to sports practice bags. The idea is simple give kids a tasty smooth snack that feels special and is easy to carry.
Why busy parents like me can’t live without them
For me, yogurt pouches are not just a snack. They are a small piece of peace in the middle of a busy day.
I can hand one to Sophie in the car and know she will actually finish it without spilling it all over her shirt. Lily likes that she can hold it while reading or drawing, which means snack time does not have to interrupt her play.
They are also a great way to sneak in fruit or protein without making a big deal about it. When we have family outings, David always tosses a few into the cooler so we have something quick and filling between activities.
It is the kind of snack that makes life easier without feeling like a compromise.
Benefits of Yogurt Pouches for Kids and Adults
Nutrition and convenience in one package
Yogurt pouches can be a powerful mix of healthy and practical. When I make them at home I can use fresh fruit and plain yogurt or dairy free alternatives if someone in the family needs it. They can be packed with protein probiotics and vitamins all in a portion that is just right for a quick snack. The best part is there is no need to measure or portion once they are made. I can grab one from the fridge and know it is ready to go whether for a school lunch or a mid morning snack for myself.
The mess free factor for school lunches and road trips
Before yogurt pouches I used to pack little containers with spoons and hope they would come back without a sticky mess in the lunchbox. Now I can send Lily and Sophie off with a pouch and they can finish it without worrying about spills or dirty utensils. On road trips they have become our secret weapon. I can pass them back to the kids in the car and they can eat without crumbs or drips. Even David admits they make travel days much smoother which says a lot because he usually avoids anything that might be messy on the go.
Learn more about balancing healthy snacks with my Blended Overnight Oats recipe.
Store Bought vs Homemade Yogurt Pouches
Cost comparison and value for families
Buying yogurt pouches at the store can be handy but the price climbs fast when you have more than one child. I remember one month when Lily and Sophie were going through them like water, and the grocery bill for snacks alone made me pause. Filling my own pouches at home brought that cost way down. When I buy yogurt in a large tub and portion it myself, the savings are enough to cover fresh fruit for the week or an extra family treat.
Ingredient control and allergy friendly options
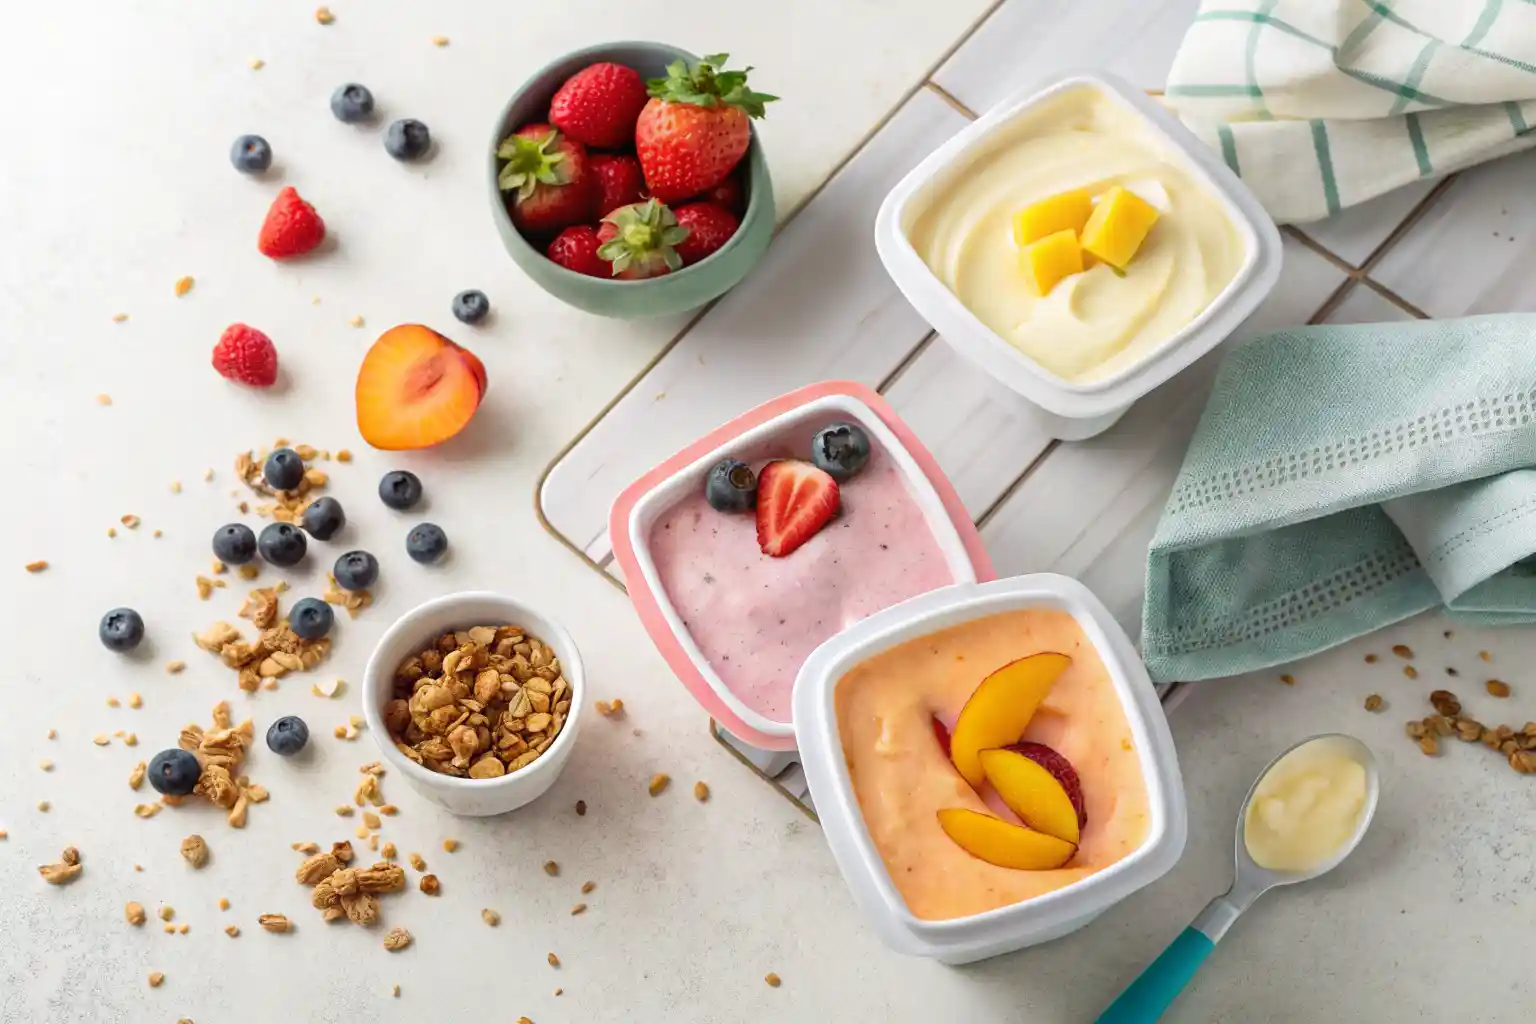
Making yogurt pouches in my own kitchen means I choose every single ingredient. That is a big deal when someone in the family has allergies or food sensitivities. If I need dairy free, I use coconut or almond based yogurt. If I want them sweeter, I blend in ripe bananas or fresh berries instead of adding sugar. One of my favorite blends is peach and plain yogurt, which Lily calls “sunshine snack” because of its color. It is simple, fresh, and something I feel good about giving to the kids.
How to Make Your Own Yogurt Pouches at Home
Tools and ingredients you will need
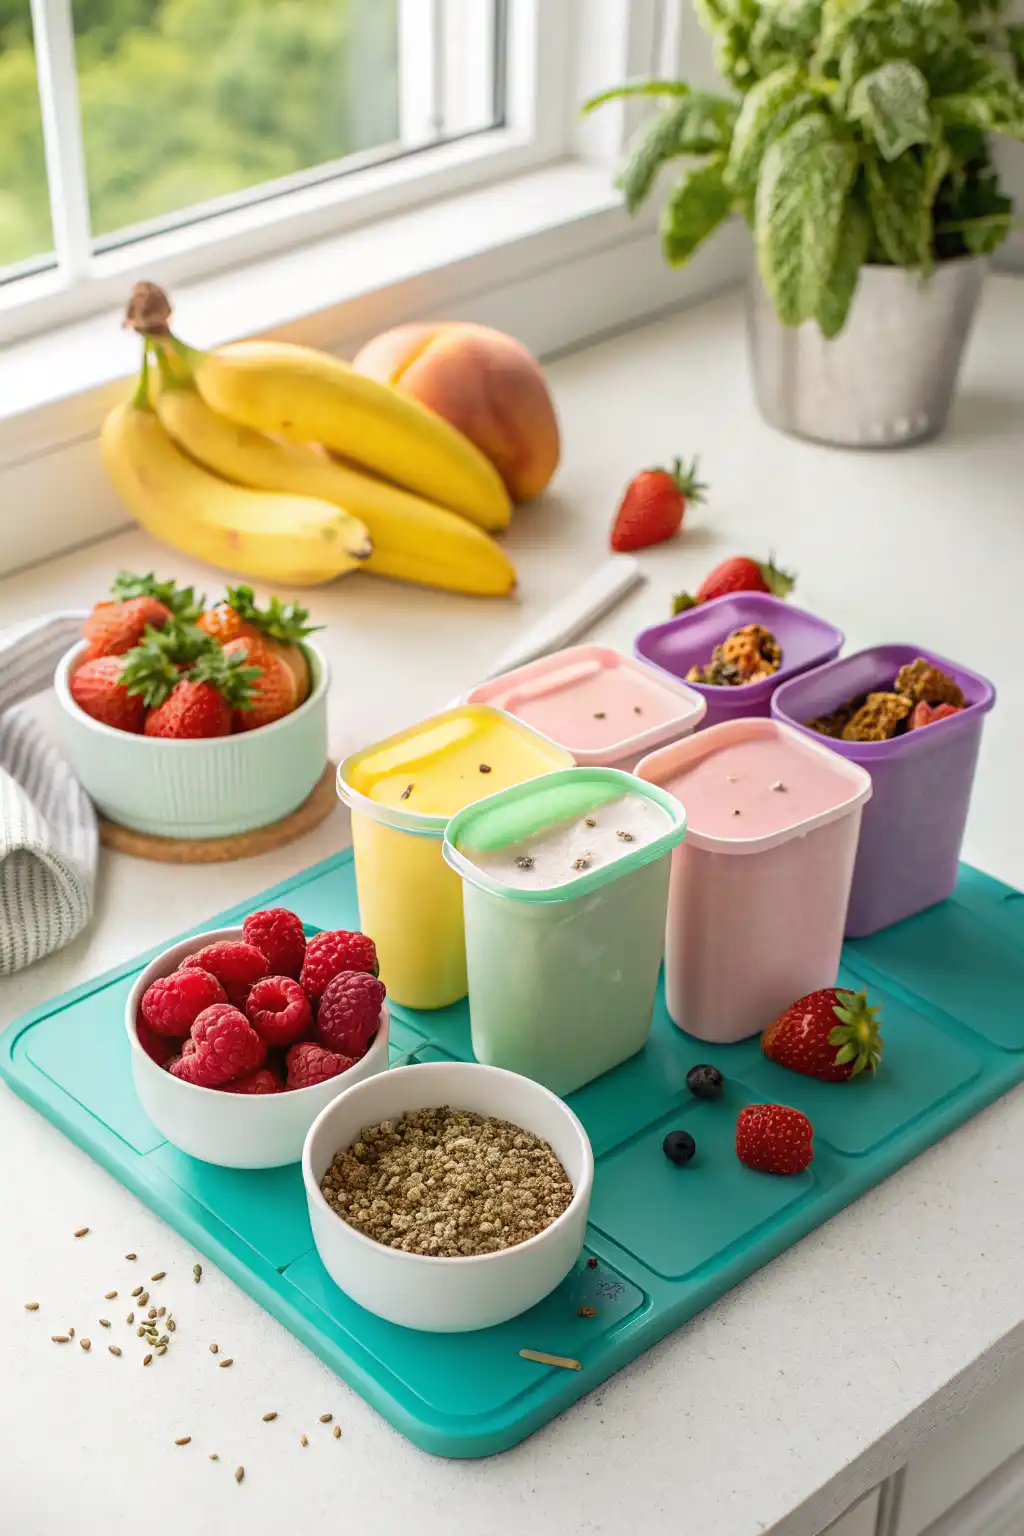
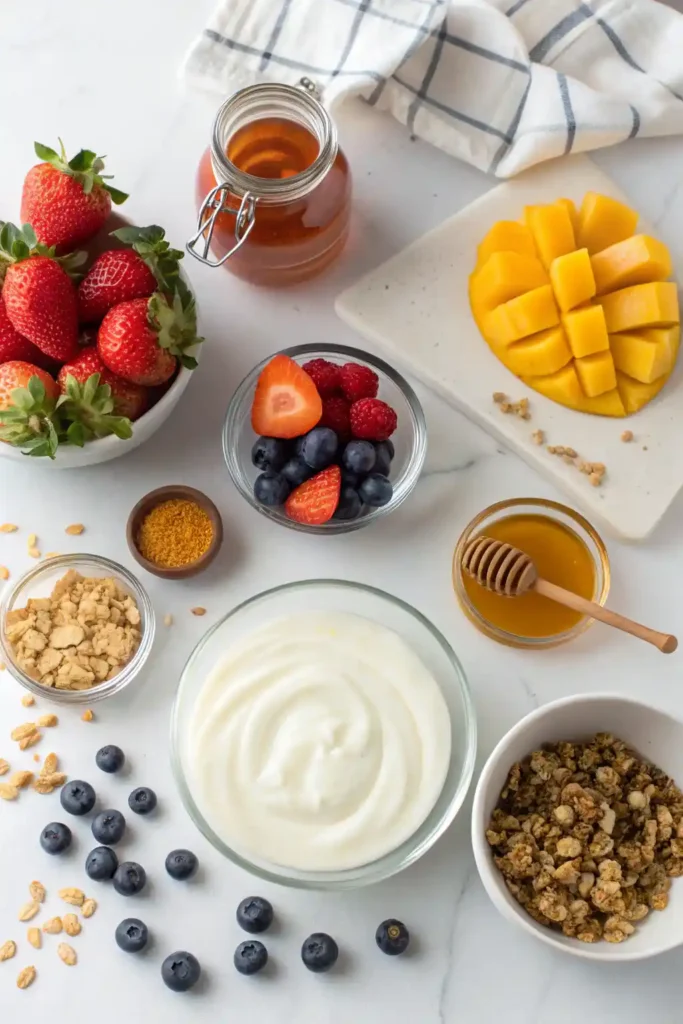
In my kitchen I like to keep this process as easy as possible. A set of reusable pouches is the most important item and I prefer the ones that open at the bottom because they are much simpler to fill and clean. A small jug with a spout or a soup ladle works well for pouring without making a mess. For the yogurt base I usually buy a large container of plain yogurt but on days when we want something different I choose coconut or almond yogurt. To add flavor I use fruit that is already in the house such as fresh peaches in the summer or berries I keep frozen for quick use.
Step by step guide from my own kitchen
I begin by blending the yogurt with the fruit until the mixture is smooth and tastes the way I want. If it seems too thick, I add a splash of milk or a dairy free alternative and stir until it loosens up.
Then I open the pouch and fill it slowly, keeping one hand steady on the counter so nothing tips over. Once the pouch is full, I press out any air and close it firmly. If we will use them soon, I store them in the refrigerator. Otherwise, they go into the freezer.
On mornings when we are running behind, I grab one and know snack time is ready without any extra work. Lily still enjoys helping with the filling and sometimes sneaks a spoonful before I can seal the pouch, which always makes me laugh.
Check out how I keep flavors fresh with my Baked Berry Pancakes that are perfect for breakfast or snacks.
How to Make Homemade Yogurt Tubes
Choosing the right reusable tubes or molds
Even though this section is about yogurt tubes, the process is very similar to filling a yogurt pouch. I use silicone molds that are flexible, easy to clean, and last for years. They seal well so there are no leaks in a lunchbox, and they are gentle enough for little hands to hold. Before switching to silicone, I tried plastic molds, but they did not last as long and were trickier to wash. The silicone versions have been a better match for the way my family uses both yogurt tubes and yogurt pouches throughout the week.
Fun flavor combos Lily and Sophie love
The best part of making yogurt tubes at home is choosing the flavors, and we often mix ideas we use for our yogurt pouch recipes too. Lily always asks for strawberry banana, and Sophie loves blueberry with a touch of vanilla. Every now and then, we make a peach and cinnamon blend that reminds David of dessert. I blend plain yogurt with the chosen fruit until it tastes just right, then fill the molds. They go into the freezer overnight and are ready to pack for school or enjoy after playtime. Seeing the girls enjoy them alongside their yogurt pouch snacks makes all the effort worthwhile.
How to Make a Yogurt Pack
Packing yogurt for freshness and portability
A yogurt pack is simply a way to keep yogurt cold and tasty until it is time to eat. I often use the same approach I take with a yogurt pouch. I slip the yogurt into an insulated lunch bag with a small ice pack or sometimes a frozen yogurt pouch that doubles as an extra snack. This keeps it at the right temperature until lunchtime. When Lily or Sophie takes one to school I check that the lid is secure so it will not spill into the lunchbox. For picnics or family outings I prepare several and keep them together in a cooler so everyone can reach in when they are hungry.
Creative add ins for a balanced snack
What I enjoy most about putting together a yogurt pack is that it can be as simple or as dressed up as you like. Some days I pack a small container of granola or seeds for crunch. Other times I add fruit such as grapes or sliced strawberries so the girls get a fresh burst of flavor. On weekends we sometimes set up a little topping station in the kitchen so Lily and Sophie can make their own mix. They usually pair it with a yogurt pouch which turns an ordinary snack into something that feels like a treat. Moments like these make the kitchen just as much about fun as it is about food.
Don’t miss our Easy Cottage Cheese Pancakes for another protein-rich lunchbox idea.
Is it Cheaper to Make Your Own Fruit Pouches
Breaking down the cost per serving
When I first started buying fruit pouches from the store I thought they were a small expense. Over time I noticed they added a surprising amount to the grocery bill especially since Lily and Sophie could go through a box in just a few days. Making them at home has been much easier on our budget. I can buy yogurt in a large container and fruit in bulk then blend and fill several pouches at once. The cost per serving drops noticeably and the savings add up quickly. It also means I can make a few extra yogurt pouch snacks to keep in the freezer for busy weeks.
When homemade makes the most sense
Homemade pouches work best for us when we already have the ingredients on hand or when fruit is in season and less expensive. In the summer I stock up on berries and peaches and freeze what we do not eat right away so I can use them later. During the school year I prepare a batch every Sunday so there is always a healthy option ready for lunch or after school. Knowing that I can make both fruit pouches and yogurt pouches at a lower cost makes it worth the small amount of time it takes in the kitchen. It feels good to save money while also giving my family something fresh and wholesome.
Storing and Freezing Homemade Yogurt Pouches
Shelf life tips to keep them safe and tasty
Once a yogurt pouch is filled it needs to be kept cold to stay fresh. I store ours in the refrigerator if we plan to use them within three to four days. They keep their flavor and texture best when sealed well and placed toward the back of the fridge where the temperature is most consistent. If the girls are taking them to school I pack them alongside a small ice pack so they stay cool until lunchtime.
Freezer friendly prep for busy weeks
Freezing yogurt pouches is one of my favorite time saving tricks. I prepare a large batch at once then freeze them flat so they stack neatly. When I know we have a busy morning ahead I take a pouch from the freezer the night before and leave it in the fridge to thaw. By lunchtime it is perfectly chilled and ready to eat. This works well for both school days and road trips because the pouch doubles as a mini ice pack for other lunch items. Keeping a small stash in the freezer means we are never without a quick and healthy snack option.
If you enjoy easy, family-friendly recipes like this, follow me on Facebook where I share quick kitchen tips and snack ideas.
Cleaning and Reusing Yogurt Pouches
Safe cleaning methods for reusable pouches
After snack time I like to give yogurt pouches a quick rinse right away so nothing sticks inside. If I leave them too long the yogurt can dry and be harder to remove. I fill the sink with warm soapy water, swish them around, and use a small bottle brush to reach every corner. It only takes a minute and I know they are clean. I have tried the dishwasher on busy days, and while it works, I still prefer washing by hand so I can check the seams and spouts myself. Once they are washed I set them upright on the drying rack where the air can move through and they dry completely.
How to make them last longer
I treat our pouches with care so they last as long as possible. I never scrape inside with metal spoons and I avoid overfilling so the seams do not get strained. Every so often I look over the closures to make sure they still seal well. This little bit of attention means some of our pouches have been with us for years. It saves money, keeps waste down, and makes me feel good knowing we are getting the most out of them.
Yogurt Pouch FAQs
How to make your own yogurt pouches
I blend plain yogurt with fresh or frozen fruit until it is smooth and creamy. If the mix feels too thick, I add a splash of milk or a dairy free option. Then I fill clean reusable pouches, press out the air, and seal them. They keep in the refrigerator for a few days or in the freezer for longer storage.
Is it cheaper to make your own fruit pouches
Yes, making them at home is usually cheaper. Buying yogurt in large containers and fruit in bulk allows me to fill several pouches for a fraction of the store bought price. It also gives me the chance to prepare extra yogurt pouch snacks for busy days.
How to make a yogurt pack
I place yogurt in a secure container and keep it cool with an ice pack or even a frozen yogurt pouch in the same lunch bag. Adding fruit or granola makes it more filling and keeps snack time interesting.
How to make homemade yogurt tubes
I stir or blend fruit puree into yogurt and pour the mixture into silicone molds made for freezer pops. After freezing overnight, they are ready to enjoy or pack alongside a yogurt pouch for variety.
Conclusion
Making a yogurt pouch at home is one of those small kitchen habits that makes a big difference in our busy family life. It saves money, keeps ingredients fresh and simple, and gives me control over what Lily and Sophie are eating.
Whether I am packing them for school, freezing a batch for the week ahead, or handing one to David on our way out the door, I know they are a snack everyone enjoys. The process is quick enough to fit into even the most hectic days.
It is also a gentle reminder that good food does not have to be complicated. From my kitchen to yours, I hope these ideas make your yogurt pouch routine easier, tastier, and just a bit more fun.
For even more make-ahead snack inspiration, check out my Pinterest boards filled with colorful, creative recipes to keep mealtime exciting.